How To Start a Podcast?
Why Start a Podcast?
The reason is straightforward—podcasting is a quick, easy, and affordable way to share your content with a wide audience. Today, millions of people are generating income and growing their online presence through successful podcasts, allowing them to expand their brand, showcase their creativity, and gain recognition. At Foto Crown, we believe it’s an excellent way to elevate your voice and reach new heights.
If you have a message you believe the world would want to hear or if you’re looking to break into the entertainment industry in this digital and connected era, a podcast is the perfect place to start. However, don’t be fooled into thinking creating a successful podcast is easy. To get your podcast up and running, you’ll first need to know which equipment is essential. That’s where the ultimate gear list comes in.
Master Gear List
Microphone
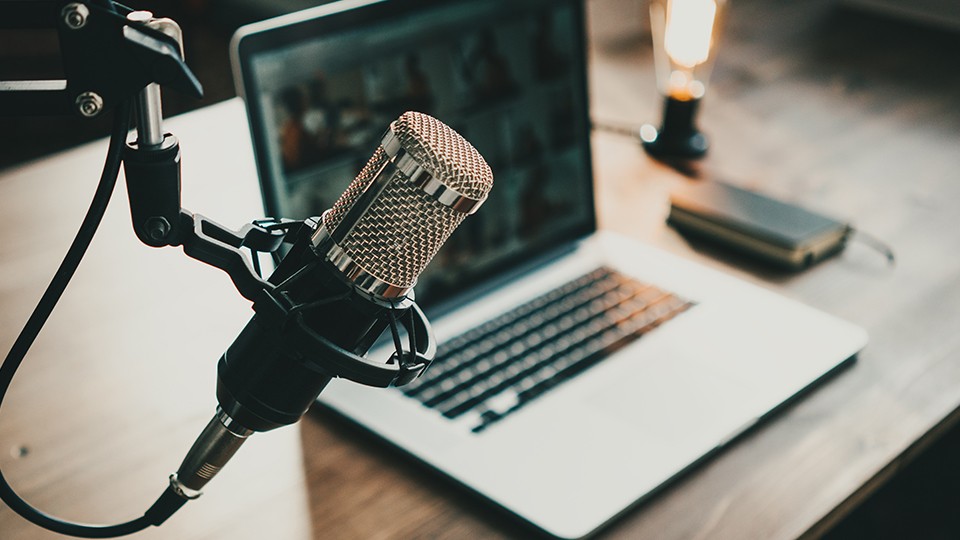
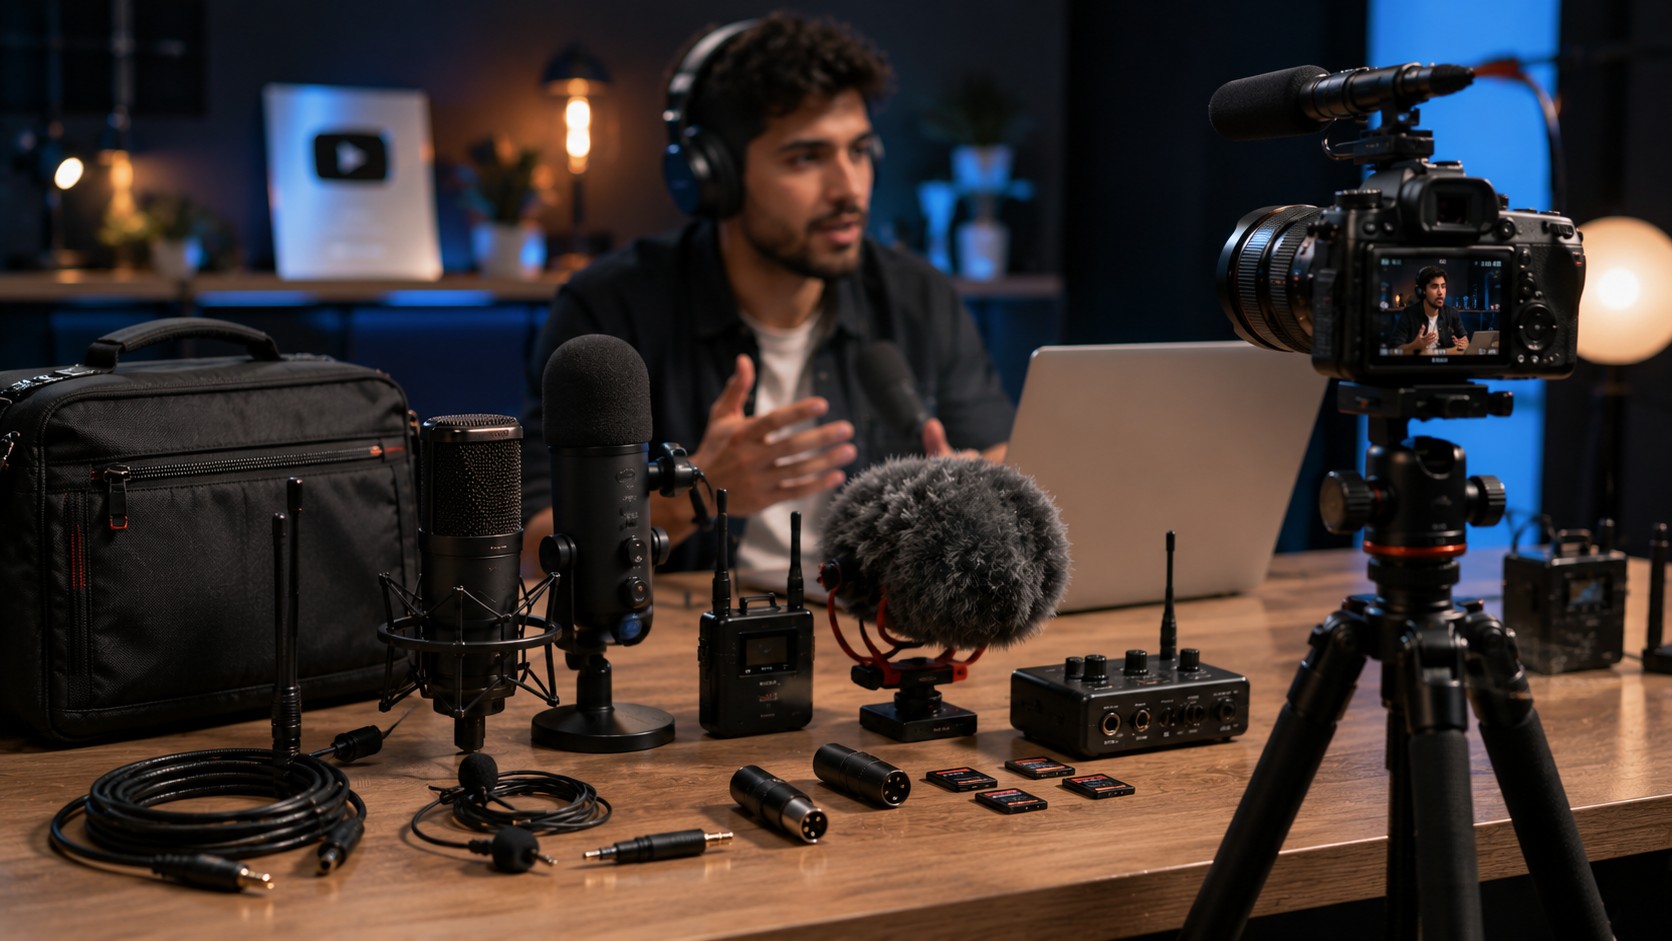
The first step for any aspiring podcaster is selecting the right microphone. You can typically choose between two types: USB or XLR microphones. An XLR microphone is an analog device that converts your voice into electrical signals, which then need to be digitized to work with your computer. This requires an audio interface, which will convert the audio, amplify the signal with a preamp, and allow for control over monitoring and playback.
On the other hand, a USB microphone is a plug-and-play solution that connects directly to your computer, making it an excellent choice if you’re recording solo or don’t have the space or budget for additional equipment like an interface. However, the limitation of USB mics is that they can be difficult to manage if you want to record with multiple people, as routing and mixing several USB mics can be challenging. In such cases, using an audio interface with XLR mics is the preferred setup, especially if you plan to record with multiple guests.
You’ll need to decide between dynamic and condenser microphones, as each type offers unique sound characteristics that cater to different recording environments and needs. Dynamic microphones are typically more durable, less sensitive, and better suited for handling loud sound sources, making them a great choice for environments with background noise. On the other hand, condenser microphones are more sensitive and capture a wider frequency range, producing a more detailed and accurate sound. They are ideal for controlled studio settings where you want to capture clear, nuanced audio. Both types have their own set of advantages and disadvantages depending on your recording style, environment, and budget. For a comprehensive guide on how to choose the best microphone for your podcasting
Recording Options
While recording to a computer is the most widely used method for podcasting, it’s certainly not the only option available to podcasters. Many content creators, especially those who are constantly on the move or prefer a more flexible setup, turn to mobile devices like smartphones or tablets to record their podcasts. These portable devices offer convenience and ease of use, allowing you to capture high-quality audio without the need for a bulky setup or stationary equipment. Mobile recording can be especially useful for podcasters who travel frequently, attend events, or want to record interviews remotely.
With a smart device, you can easily record using an app and touchscreen, but you’ll need a special cable adapter. This could limit you to using just one USB mic or require you to carry around an interface (if it’s compatible). On the other hand, audio field recorders often come with built-in stereo microphones and audio inputs for directly connecting XLR mics. However, the downside of these ultra-portable devices is their limited interface options.
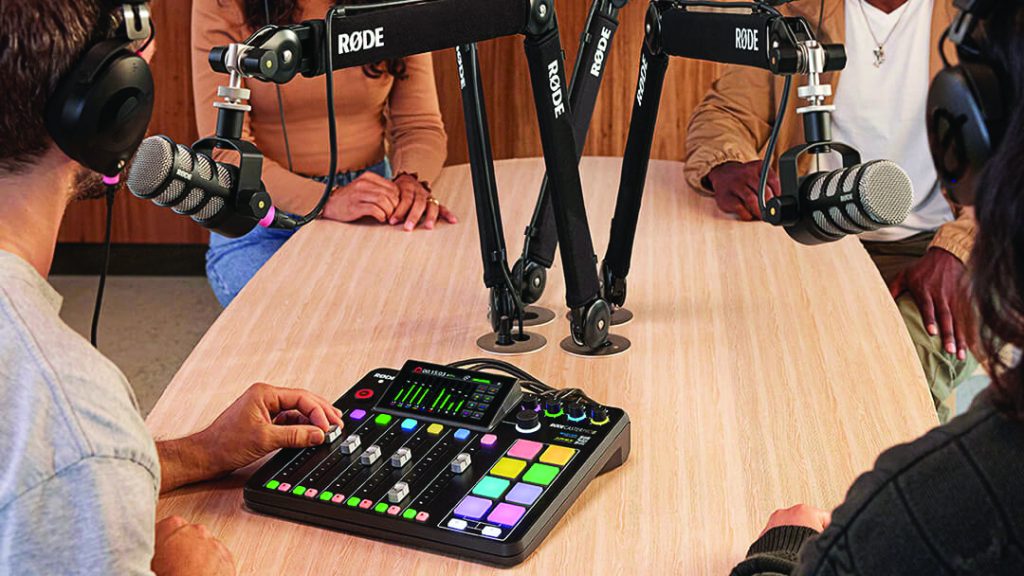
That said, your choices don’t stop there. You can also consider all-in-one podcasting solutions from brands like RØDE. These devices combine both a portable recorder and an interface into one convenient unit, allowing you to record directly to the device, send audio to your computer, or do both simultaneously. Equipped with comprehensive I/O options, these all-in-one systems offer multiple microphone preamp inputs, numerous outputs for talent and monitoring, USB connectivity for computers, onboard audio processing, and much more, providing everything you need for professional-quality podcasting.
Room Treatment
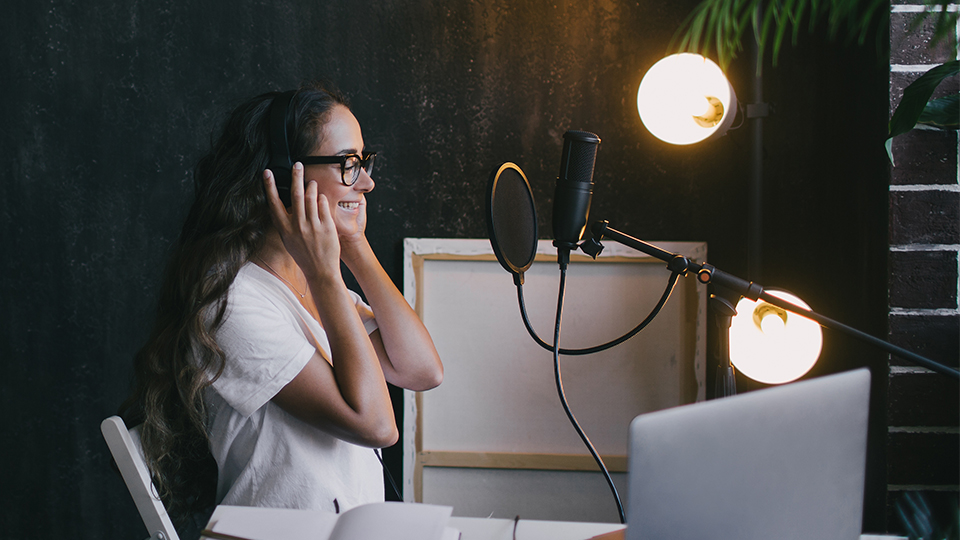
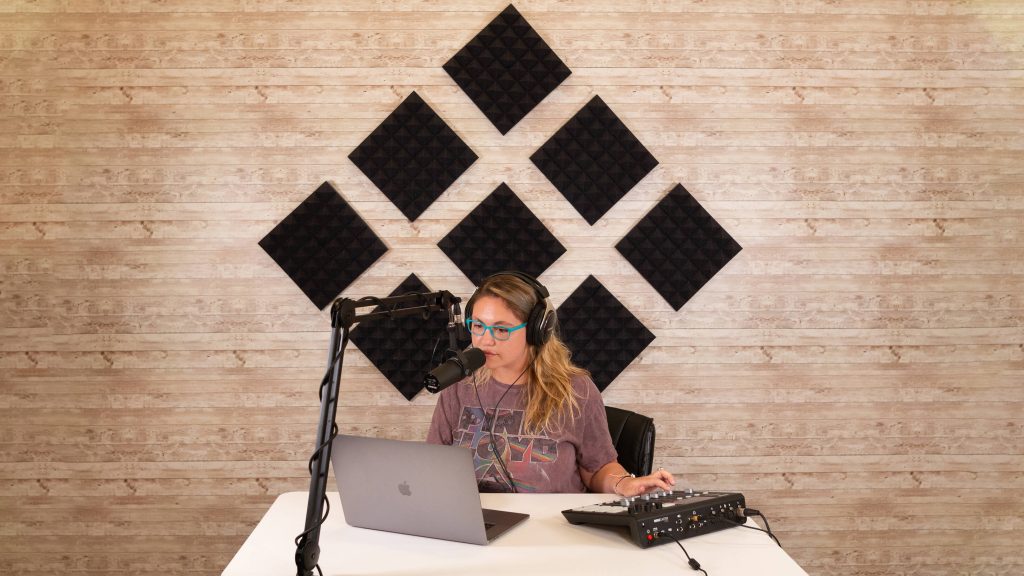
Next up is room treatment, which may not be the most exciting aspect of podcasting, but it’s certainly one of the most crucial. In today’s world, many podcasters are recording in less-than-ideal environments—such as bedrooms, offices, or basements—rather than professional studios. At Foto Crown, we emphasize that creating a studio-like atmosphere in your space can make a significant difference in achieving clean, professional-quality sound for your podcasts.
To achieve this, consider investing in acoustic panels for your walls to reduce excessive sound reflections, as well as sound-isolating shields for your microphone. These shields, often referred to as reflection filters, can dramatically improve the audio quality of your podcast. However, it’s worth noting that unlike acoustic panels, reflection filters won’t contribute much to the visual appeal of your setup, especially if you’re streaming video alongside your audio.
Essential Accessories for a Recording Setup
Accessories play a crucial role in achieving a professional recording experience. While it might seem like you can simply grab a microphone and start recording, having the right equipment can make a significant difference in both comfort and audio quality.
Key accessories such as mic stands, shock mounts, pop filters, headphones, and cables are essential for a smooth and hassle-free setup. A high-quality broadcast-style boom arm is particularly useful, allowing you to position your microphone at an optimal distance for both clarity and convenience. Additionally, a boom arm offers direct compatibility with most popular podcasting microphones, such as the Comica STA-U2D RGB USB Microphone Kit
Recording Tips
One of the most important rules in audio recording is to avoid clipping your input. To capture high-quality sound, you should aim to record the strongest possible signal without introducing distortion. Distortion occurs when the volume exceeds the capacity of your equipment, causing the waveform to flatten at the top.
Most audio interfaces, mixers, and DAW (Digital Audio Workstation) software provide visual indicators, such as meters that turn red when the audio spikes into distortion territory. If this happens, it’s a clear sign that your levels are too high, and you should reduce the gain on your input device, whether it’s hardware or software. A good starting point for recording is typically between -3 dB and -1 dB. Staying within this range ensures a strong, clean signal that remains easy to work with in post-production while maintaining competitive loudness.
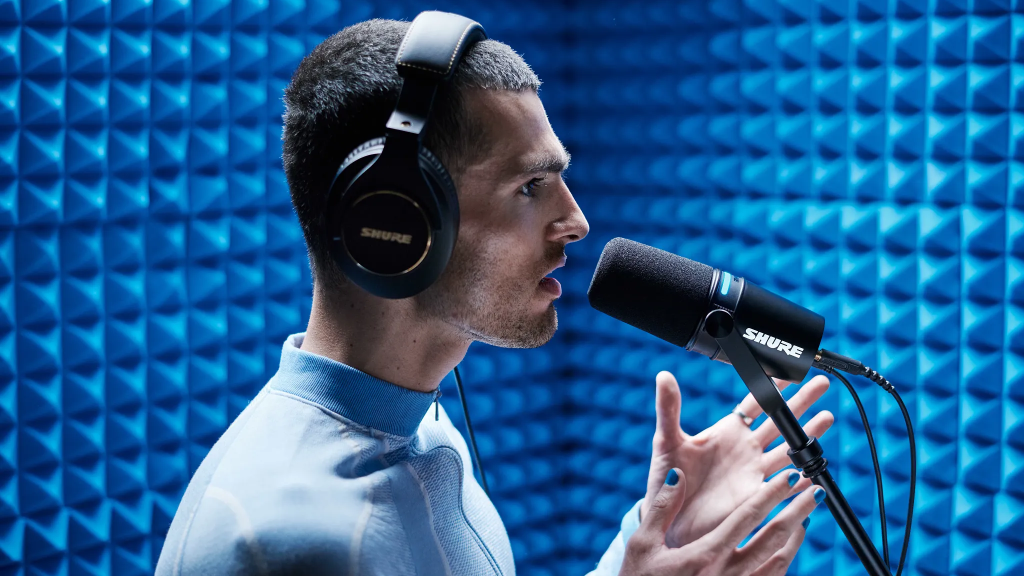
If you’re using a dynamic microphone, experiment with the distance between your voice and the mic to take advantage of the proximity effect. Dynamic mics tend to capture more bass frequencies as they get closer to the sound source, allowing for a rich, full-bodied vocal tone. This technique works particularly well with microphones


Can you be more specific about the content of your article? After reading it, I still have some doubts. Hope you can help me.
Thanks for sharing. I read many of your blog posts, cool, your blog is very good.